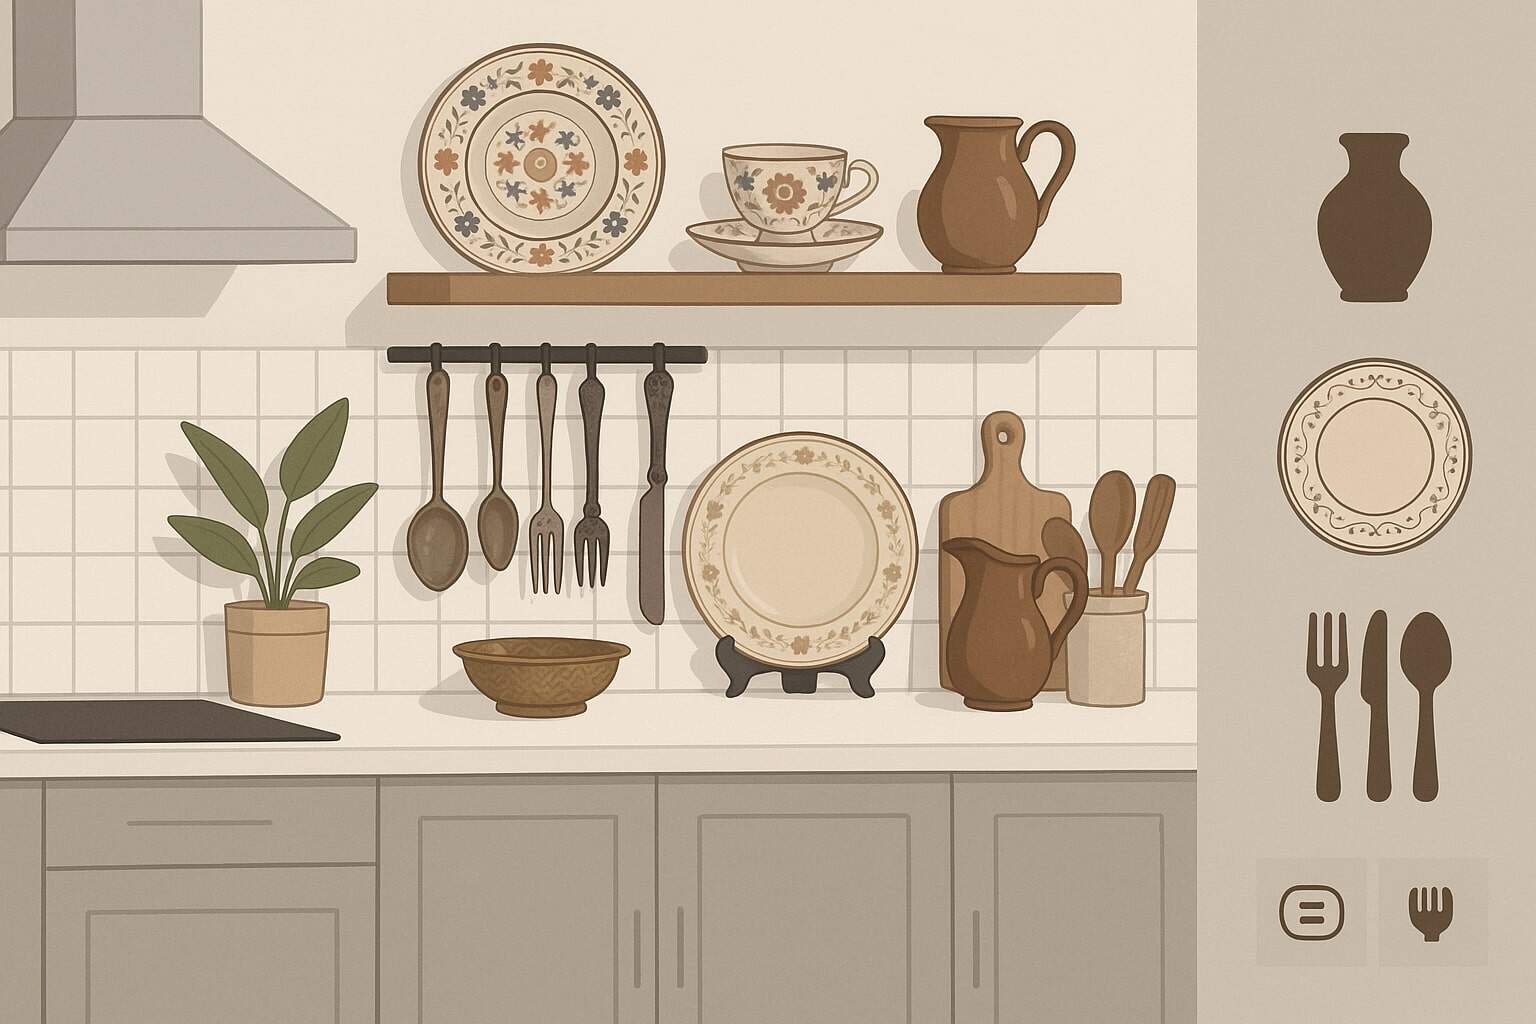
Antique dishes and utensils bring story, texture, and craftsmanship into a contemporary space. When you put a hand-thrown earthenware bowl beside a sleek induction cooktop, you get a kitchen that feels layered and personal.
This guide shows you how to integrate antique dishes and utensils with intention—covering design strategy, safety, sourcing, restoration, storage, and everyday use.
You’ll learn which pieces thrive on open shelves, how to clean copper without stripping character, what to know about lead in old glazes, and how to pair patinated metals with modern materials like quartz and sintered stone.
Throughout, we’ll use the phrase antique dishes and utensils to describe collectible or pre-owned tableware, cookware, and tools that add soul to a modern kitchen.
Short, scannable paragraphs make this easy to read while keeping depth for serious home cooks and collectors. You’ll find practical checklists, material-specific tips, and styling ideas that mesh with today’s minimalist, Japandi, or transitional interiors.
Whether your collection is a handful of blue-and-white plates or a wall of copper pans, this is a complete, updated guide to curating and caring for antique dishes and utensils so they look great, work safely, and last for decades.
Why Antique Dishes and Utensils Elevate Modern Kitchens
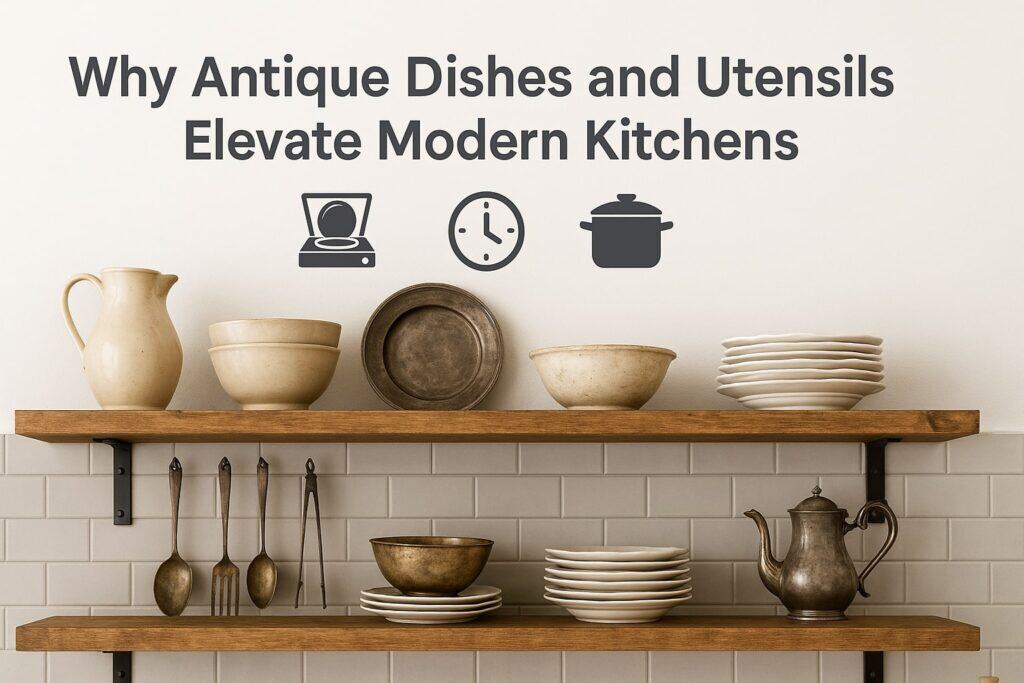
Modern kitchens lean clean: flat-panel cabinetry, integrated pulls, stainless or matte black fixtures, and uninterrupted stone. That simplicity can read cold without organic counterpoints. Antique dishes and utensils supply those counterpoints in three ways: material richness, historical narrative, and sustainable luxury.
Worn maple handles, crazed porcelain, and hammered copper create a visual rhythm that breaks up the slickness of glass, steel, and engineered stone. The imperfections—tiny dings, softened edges, a hand-painted rim—signal human touch, which warms the room instantly.
There’s also functional intelligence embedded in many antique dishes and utensils. Heavy carbon-steel knives sharpen beautifully. Vintage French copper conducts heat better than most modern pans. Old stoneware crocks hold ferments at stable temperatures.
You get performance plus patina. Finally, antiques are sustainable. Choosing a nineteenth-century ladle over a brand-new decorative object keeps goods in circulation and reduces the environmental burden of new manufacturing.
In a time of rising interest in circular design, integrating antique dishes and utensils is a practical and aesthetic win that aligns with mindful living and reduces waste without sacrificing style.
Common Antique Categories and What They Pair With
Recognizing types of antique dishes and utensils helps you mix them with modern finishes. Transferware (Victorian blue, brown, or mulberry patterns) pairs well with flat-front white cabinetry and brushed nickel hardware.
Ironstone’s creamy tone softens stark black-and-white palettes. Mid-century stoneware in earthy glazes complements oak, walnut, and concrete counters. For metals, tin-lined copper pans add warmth against gray veining in quartz, while nickel-silver utensils (German silver) glint subtly under LED strips.
Consider function as you classify. Serving pieces—cake stands, compotes, fish slices—perform beautifully on islands and for hosting. Everyday plates and bowls thrive on open shelves near dishwashers for easy rotation. Tools—balloon whisks with wood grips, pastry cutters, meat mallets—become sculptural in utensil crocks.
Finally, storage items like apothecary jars, spice tins, and enamel canisters reduce visual clutter while adding character. The key is to group antique dishes and utensils by color temperature and finish so they harmonize with your modern palette rather than compete with it.
How to Source and Authenticate with Confidence

Great collections start with great sourcing. Estate sales, reputable dealers, culinary flea markets, charity shops in affluent areas, and specialty online marketplaces are all fertile. Before you buy antique dishes and utensils, set a focus—perhaps pre-1950s copper, American ironstone, or Scandinavian teak handles—so you avoid a jumble of styles.
Bring a small flashlight and a pocket magnet. The flashlight reveals hairline cracks in porcelain; the magnet helps you distinguish copper or brass (non-magnetic) from iron or steel (magnetic).
Authentication rests on marks, construction, and wear. Look for maker’s stamps on the back of plates and the bases of pans; note the typography and any country-of-origin laws that can date a piece (“Made in…” marks became more standardized in the early 20th century).
Examine how handles are fixed. Riveted copper with old-style mushroom rivets is a tell; hand-filed seams and dovetailed copper bottoms indicate pre-industrial work. Appropriate wear should feel consistent: a century-old ladle will show rounded edges and honest scratches, not uniform “artificial distress.”
Buying from a dealer? Ask for provenance and any restoration disclosure. Document each acquisition with photos, measurements, and notes so your antique dishes and utensils portfolio grows intelligently.
Spotting Reproductions and Evaluating Condition
Reproductions aren’t always bad—many are safe for daily use—but you should know what you’re getting. Newer transferware often has too-perfect repeats; glaze pooling looks uniform; the clay body may be bright white rather than warm. For copper, “decorative” pans are often thin, have iron or aluminum cores, and sport flimsy handles with machine-perfect rivets.
With antique dishes and utensils, condition grading helps you pay the right price: “Excellent” means minimal wear, no cracks, tight rivets; “Very Good” allows light utensil marks and gentle patina; “Good” tolerates stable hairlines or small chips; “Fair” is display-only.
Run fingers over rims and handles. Check for pitting inside copper or tin that could compromise cooking. On wooden utensils, look for checks (splits) and mold staining. Sniff for mustiness—persistent odor can be hard to remove.
Remember, utility matters: a show-stopping nineteenth-century pastry wheel with a cracked axle might be better framed than used. Knowing how to grade antique dishes and utensils keeps your collection honest and your spending aligned with real-world use.
Cleaning, Preservation, and Food Safety—What You Must Know

Care is where aesthetics, health, and longevity meet. Never put antique dishes and utensils in a dishwasher; heat, caustic detergents, and jets accelerate damage. Hand-wash with warm water and a mild, dye-free soap; rinse thoroughly; dry immediately.
For silverplate and sterling, use a non-abrasive polish sparingly; avoid dips that strip detail. Copper likes a simple paste of flour, salt, and vinegar, applied gently with a soft cloth, then thoroughly rinsed. If a piece has lacquer, skip acid cleaners and stick to mild soap to avoid clouding.
Food safety is paramount. Some pre-1980 glazes can contain lead or cadmium, and damaged tin linings can expose copper. Reserve questionable glazed pieces for dry food or display, and re-tin copper meant for simmering or candy work.
Use wood conditioning oil on vintage spoons, spatulas, and rolling pins to seal pores and resist staining. Keep textiles—linen tea towels, grain sacks—clean and dry to prevent mildew near your antique dishes and utensils.
Finally, store items away from stove heat where grease aerosols can settle; if you display above a range, clean more frequently and consider a strong, quiet range hood to protect surfaces.
Lead, Metals, and Modern Standards: A Practical Safety Primer
When in doubt, treat old colorful glazes and bright orange or red enamels with caution. Micro-cracks increase leaching risk. Use clear-glazed or known food-safe pieces for acidic foods like tomato sauces or citrus.
If you plan to cook with copper, ensure the tin lining is intact—silvery, smooth, and continuous. Exposed raw copper should never contact acidic foods for extended periods. For antique dishes and utensils made of aluminum, avoid long acid soaks; for brass, use it as serving ware rather than cooking to reduce zinc/copper migration.
Knives and carbon-steel tools develop a dark patina that’s natural and protective. Clean immediately after cutting acidic foods and dry fully to prevent rust. For pewter, modern lead-free pewter is food-safe; older pewter may contain lead, so use it decoratively or for dry goods.
If you want extra certainty, at-home lead test swabs can offer a preliminary check, though lab tests are more definitive. Prioritize condition, lining integrity, and glaze stability, and you’ll enjoy antique dishes and utensils confidently without compromising modern health standards.
Design Strategies: Making Antiques Look Intentional, Not Cluttered
Curation beats accumulation. Start by selecting a hero material—porcelain, stoneware, copper, or wood—and supporting accents. Keep display density modest: negative space lets antique dishes and utensils breathe.
Open shelves work best when items are arranged by function and height: dinner plates stacked, bowls nested, cups hung under a shelf on low-profile hooks. Mix vertical and horizontal lines—plate rails create rhythm; a single oversize platter anchors a vignette. Use risers or cake stands to create levels and make small items read as a group.
Color temperature unifies old and new. Warm coppers and brass flourish with off-white paint and natural oak; cool nickel and pewter sing against charcoal cabinetry and marble. Lighting is critical—soft under-cabinet LEDs showcase glaze and patina without glare.
On islands, a shallow tray can corral daily-use antique dishes and utensils like a ladle, tasting spoons, and salt cellar, so they feel like a set rather than random clutter.
Limit “themed” displays; instead, weave antiques into zones: a baking station with a vintage sifter and rolling pin; a tea corner with transferware mugs and a silver spoon jar. The result reads modern, calm, and layered.
Palette, Pattern, and Display Tactics That Always Work
Pick a repeating element—say, a blue band, a scalloped edge, or a hammered texture—and echo it at least three times. That repetition visually stitches antique dishes and utensils into the room. Alternate matte (stoneware) and shine (silver, glass) for dimension.
If your backsplash is busy, choose simpler plates; if the backdrop is plain, let patterned platters carry visual interest. Plate walls remain timeless when arranged in irregular grids that respect plate size and hue. For utensil displays, a tall apothecary jar of well-worn wooden spoons looks sculptural; add a brass ladle for a subtle metallic accent.
Use shadow boxes for fragile items like pastry crimpers or bone-handled knives; they protect while inviting conversation. Magnetic knife strips in walnut handle vintage blades beautifully—just pad the strip with leather to preserve edges.
For copper pans, mount a single horizontal bar rather than a crowded pot rack; fewer pieces read more luxurious. Rotate items seasonally: pale ironstone in spring, darker earthenware in winter. These tactics keep antique dishes and utensils relevant while preventing visual fatigue.
Using Antiques Every Day Without Fear
Antiques aren’t just for display. A stout stoneware mixing bowl, a tin-lined copper jam pan, or a carbon-steel crepe pan can outperform many modern equivalents. The trick is matching tasks to tools.
Use thick porcelain platters for resting roasts—they hold heat. Deploy vintage gratin dishes for crisp edges under a broiler, but confirm they’re oven-safe.
Carbon-steel knives want a few swipes on a honing rod before each session and a light oiling after service. Wood spoons excel for risotto, polenta, and jam where gentle scraping preserves pan linings.
Build a simple routine: rinse, dry, oil (for wood/carbon), then store. Keep a microfiber towel and a small bottle of food-grade mineral oil in a drawer near your antique dishes and utensils. Consider a “working set” and a “collector set.”
The working set lives within arm’s reach; the collector set enjoys softer lighting and gentler use. If you host often, pre-stage serving antiques on a sideboard so they transition from kitchen to table effortlessly. Using antiques daily deepens their patina—and your connection to them.
Rotation, Care Cycles, and Repair Triage
Set a quarterly care calendar. In month one, polish silver lightly; month two, condition wood; month three, inspect copper linings; month four, check mounts and replace missing felt pads on display stands. Rotate antique dishes and utensils into active duty to spread wear evenly.
For small chips on display-only porcelain, use archival conservation wax to soften edges visually. For wobbly handles or loose rivets, set pieces aside for a professional restorer—DIY fixes can worsen damage.
Create a “repair triage” scale from 1 to 3: 1 = cosmetic clean; 2 = functional tweak (tighten screw, re-epoxy a handle with food-safe adhesive if appropriate); 3 = specialist (re-tinning copper, replacing horn scales on knives, stabilizing bone handles).
Keep receipts and service records together with photos so you can track the life of your antique dishes and utensils. This rotation-plus-triage system keeps everything safe, useful, and ready to shine when guests arrive.
Storage and Organization That Protects Patina
Storage is design plus insurance. Line drawers with cork or felt to cushion plate rims. Use vertical plate racks to reduce stacking stress; insert felt dividers between large platters. Hang pans so they don’t knock together, or place soft spacers between nested metal pieces.
For cutlery, wooden knife blocks or leather-lined drawers cradle edges and handles. Keep silica gel packets in enclosed cabinets to moderate humidity, especially important for wood and bone on antique dishes and utensils.
Label shelves by category—ironstone, transferware, copper, wood—so family members return items to consistent spots. Consider a shallow, ventilated cabinet just for linens and paper ephemera like old recipe cards, away from moisture.
Store seasonal or fragile pieces in clear boxes with acid-free tissue; avoid newspapers, which can transfer ink. Organization speeds use and reduces accidental damage. When everything has a home, you’ll reach for antique dishes and utensils more often, which is the point—enjoying them in daily life.
Digital Cataloging and Easy Insurance Records
A simple spreadsheet or notes app can evolve into a powerful tool. Record item name, category, dimensions, maker’s marks, condition grade, purchase price, and current estimated value. Add photos—overall, detail, and backstamp.
Tag entries by location (“Open Shelf 2,” “Island Drawer A”) so you can find antique dishes and utensils quickly. This digital catalog doubles as an insurance asset; export it to PDF annually and keep a cloud copy.
If you ever move or loan items, you’ll have a precise checklist, which reduces risk and simplifies claims should something go wrong.
For display exhibits during holidays, create temporary “collections” in your catalog so you can reconstruct the setup each year without guesswork. Include cleaning notes—what polish worked, what finish reacted poorly—so you don’t relearn hard lessons.
The catalog might sound tedious, but once built, it’s a time-saver that protects your investments and clarifies the story of your antique dishes and utensils for future generations.
Upcycling, Restoration, and Ethical Choices
Not every damaged piece must be discarded. A teacup with a cracked rim becomes a herb planter; a single orphaned saucer makes a perfect spoon rest; a warped copper lid turns into a charming trivet with cork feet.
Upcycling keeps character in circulation. Restoration is different and should be approached ethically. Invisible repairs can hide structural issues; visible, reversible repairs—like kintsugi (gold-mended pottery) or neatly re-tinned copper—honor age while restoring function.
When you restore antique dishes and utensils, document the work to maintain transparency and value.
Avoid over-cleaning that erases history. Deep patina on brass or copper tells a story; you can spot-polish highlights and leave recesses dark for dimension. For wood, resist sanding away tool marks; condition instead.
If an item is rare or museum-worthy, consult a professional conservator before any intervention. Ethical stewardship means balancing beauty, function, and authenticity so the next caretaker inherits antique dishes and utensils with integrity intact.
Conservation vs. Restoration: How to Decide
Conservation stabilizes; restoration returns to a prior appearance or function. Ask three questions: Is the damage progressing? Is the item structurally sound for its intended use? Will intervention increase or diminish historical value?
For a cracked but stable platter used only for display, conservation—gentle cleaning, controlled environment—may suffice. For a dulled copper saucepan you want to cook with, restoration via professional re-tinning is appropriate.
Transparent, reversible methods are best. Use archival adhesives and keep original components whenever possible.
Set thresholds. If restoration costs exceed the piece’s value and sentiment is low, consider upcycling. If sentimental or aesthetic value is high, invest. Keep a “before/after” photo log and store any replaced parts (old rivets, original screws) with notes.
These decisions, made consistently, ensure your antique dishes and utensils evolve thoughtfully, not haphazardly.
Budgeting, Valuation, and Building a Collection Slowly
A focused budget keeps collecting joy. Allocate funds across three buckets: acquisition, care (cleaning, re-tinning, sharpening), and display (hardware, lighting). Start by buying the best examples of everyday forms you’ll use—plates, bowls, serving spoons—then branch into statement pieces.
Track market prices for your favorite makers and patterns so you recognize value. Condition affects price dramatically; a flawless ironstone platter can cost multiples of one with hairlines. Factor in restoration costs when comparing options so you prize usable antique dishes and utensils over project pieces that sit for months.
Patience pays. The right piece appears if you wait, and it will harmonize with your existing collection better than impulse buys. Try the “rule of three”: if a prospective purchase works in three places or with three existing items, it’s a good fit.
When selling duplicates or editing, be transparent about condition and repairs; your reputation as a buyer/seller will help you access better sources. In time, your kitchen will hold a coherent, deeply personal set of antique dishes and utensils that tells your story.
Negotiating Like a Pro and Reading the Market
Negotiation is respectful curiosity. Ask dealers about provenance and condition; show you’ve done homework on maker marks and forms. Bundle items for better pricing, and carry cash at flea markets. Timing matters: late in the day or off-season, dealers may be more flexible.
Compare price to rarity and restoration needs. A scarce shape in “Very Good” condition might beat a common shape in “Excellent.” Track completed sales, not just asking prices, to gauge real value for antique dishes and utensils.
Stay agile as trends shift. Utilitarian pieces—crocks, mixing bowls, wood spoons—are timeless. Flashy shapes may spike then cool. Don’t chase trends so hard that you lose cohesion. If you buy what you love and can use, market fluctuations won’t sting.
And remember: an honest, fair negotiation builds relationships. Dealers will set aside items for collectors who appreciate the craft and care of antique dishes and utensils.
Blending Antiques with Smart Tech and Contemporary Workflows
Modern kitchens hum with technology—induction tops, smart ovens, Wi-Fi scales. You can still integrate antique dishes and utensils without friction. Use silicone trivets beneath copper to protect induction glass when staging hot pans.
Pair vintage mixing bowls with a modern digital scale; place a thin nonslip mat under the bowl for stability. Install dimmable LED strips with a high CRI (color rendering index) to show true glaze colors. Smart plugs let you spotlight a display shelf in the evening, turning antiques into subtle ambient lighting.
For workflow, keep antiques near their zones. Wooden spoons and baking forms live by the range and oven; serving pieces cluster near the dining transition. If you meal-prep, stage antique platters as “landing pads” for chopped herbs or resting proteins; it turns prep into ritual.
Use modern drawer inserts to cradle fragile antique dishes and utensils so they move with the same speed and safety as newer gear. The goal is a kitchen that works like 2025 but feels timeless.
Simple Digital Tools That Enhance Care and Display
A note-taking app can remind you to oil wood quarterly or polish silver before holidays. QR codes hidden under plate rails can link to your catalog entry with maker history and care notes—a fun surprise for curious guests.
Smart moisture sensors in closed cabinets alert you to humidity spikes that could warp wood or encourage mold near antique dishes and utensils. A label printer with archival tape keeps shelf edges tidy and legible.
Use your phone’s camera to document table settings. Create albums labeled by season or menu, so you can re-create pairings (ironstone + linen stripe + pewter chargers) in minutes.
Small tech nudges reduce friction, letting your antiques shine without anxiety. Technology doesn’t replace tradition; it supports it, making antique dishes and utensils easier to love and live with daily.
Hosting: Turning Everyday Antiques into Memorable Experiences
Entertaining is where antiques sparkle. Start with a restrained base—plain white dinner plates—then layer in antique dishes and utensils as accents: a transferware bread plate, a silver butter knife, a copper jam pot for flowers.
Mix textures: linen runner, wood chargers, thin crystal, and hand-thrown pottery. Tell short, specific stories: “This ladle served soup in a 1920s boarding house,” rather than generalities. Stories invite guests into the ritual.
Plan service to protect pieces. Use felt underfoot on trays; set up a landing station with a silicone mat to catch drips and protect tin linings. Place a card discreetly near particularly delicate items—“display only”—so helpers don’t put them in the dishwasher.
After the party, your post-event routine—rinse, dry, condition—brings antique dishes and utensils back to ready. Hosting with antiques doesn’t mean fragility; it means intention, a rhythm that keeps objects and memories in circulation.
Styling, Photography, and Sharing Without Stress
Photographing antiques can flatten them if lighting is harsh. Shoot near a window with indirect light; avoid overheads that blow out highlights on copper or glass. Use a neutral backdrop—stone counter, rough linen—to let antique dishes and utensils carry the frame.
Compose with diagonals: a ladle crossing a stack of plates; a spoon jar in front of a platter. Keep color palettes tight—two main hues plus metal. Post with context: the maker’s mark, a snippet of history, or a care tip alongside the image so followers learn as they enjoy.
Respect privacy and ethics when sharing. Don’t geotag a dealer’s private home sale without permission. If you borrow or rent pieces, credit the source. Avoid recommending hazardous uses; be clear when an item is display-only.
This approach keeps the community informed and protects the reputation of antique dishes and utensils collectors as thoughtful stewards rather than trend chasers.
FAQs
Q.1: Are antique dishes safe for everyday eating?
Answer: Many are, provided glazes are stable and free of damage, and metals have intact food-safe linings. Reserve suspect brightly colored vintage glazes and crazed surfaces for dry foods or display. Keep antique dishes and utensils clean, dry, and away from prolonged acid contact.
Q.2: How do I clean copper without removing all the patina?
Answer: Use a gentle paste of flour, salt, and vinegar or a mild commercial copper cleaner, applied lightly. Polish high spots and leave recesses darker so your antique dishes and utensils retain depth and character.
Q.3: What should I never put in the dishwasher?
Answer: Pretty much all antiques: tin-lined copper, bone or wood handles, silverplate, and decorated porcelain. Hand-wash and dry immediately to protect antique dishes and utensils from heat and harsh detergents.
Q.4: Can I cook on induction with vintage copper?
Answer: Copper isn’t magnetic, so it won’t heat directly on induction. Some owners place a stainless steel interface disk between the hob and pan, but proceed cautiously to avoid scratching. Alternatively, use copper in the oven or on gas, and let antique dishes and utensils shine for serving.
Q.5: How often should wood utensils be oiled?
Answer: Monthly if used often, quarterly otherwise. Apply food-grade mineral oil or a beeswax blend. Oiling keeps antique dishes and utensils made of wood from drying, cracking, or absorbing odors.
Q.6: What’s the best way to display plates safely?
Answer: Use plate rails, felted stands, or secure wall hangers rated for weight. Keep them away from steam sources. Rotate antique dishes and utensils on display so light and dust exposure stay balanced.
Q.7: Is re-tinning copper worth it?
Answer: Yes if the pan has good thickness and balance. Re-tinning restores safe cooking surfaces and extends life, making antique dishes and utensils more than decorative.
Q.8: How do I prevent silver from tarnishing so fast?
Answer: Store with anti-tarnish strips in low-humidity cabinets. Use your silver often—the friction of washing and drying slows tarnish. Regular, gentle care keeps antique dishes and utensils table-ready.
Conclusion
Modern kitchens crave warmth and narrative. Antique dishes and utensils deliver both, balancing clean lines with lived-in charm. When you source thoughtfully, authenticate responsibly, and prioritize food safety, antiques become daily allies, not fragile relics.
Design choices—restrained displays, smart lighting, coherent palettes—turn scattered finds into a cohesive aesthetic. Practical routines—hand-washing, conditioning, periodic inspections—protect your investment and ensure pieces remain ready for work or show.
A simple catalog, a few digital helpers, and an ethical approach to restoration round out a system that’s easy to maintain.
Most of all, remember that objects earn their meaning in use. The copper pot that poaches pears each winter, the stoneware bowl that anchors a salad, the ladle that tells a family story—these are the details that make a kitchen yours.
By weaving antique dishes and utensils into your everyday cooking and hosting, you create a space that feels current and classic at once, rich in texture, gentle on the planet, and uniquely personal. Let your collection grow slowly, care for it well, and enjoy the beauty and utility it brings to the heart of your home.