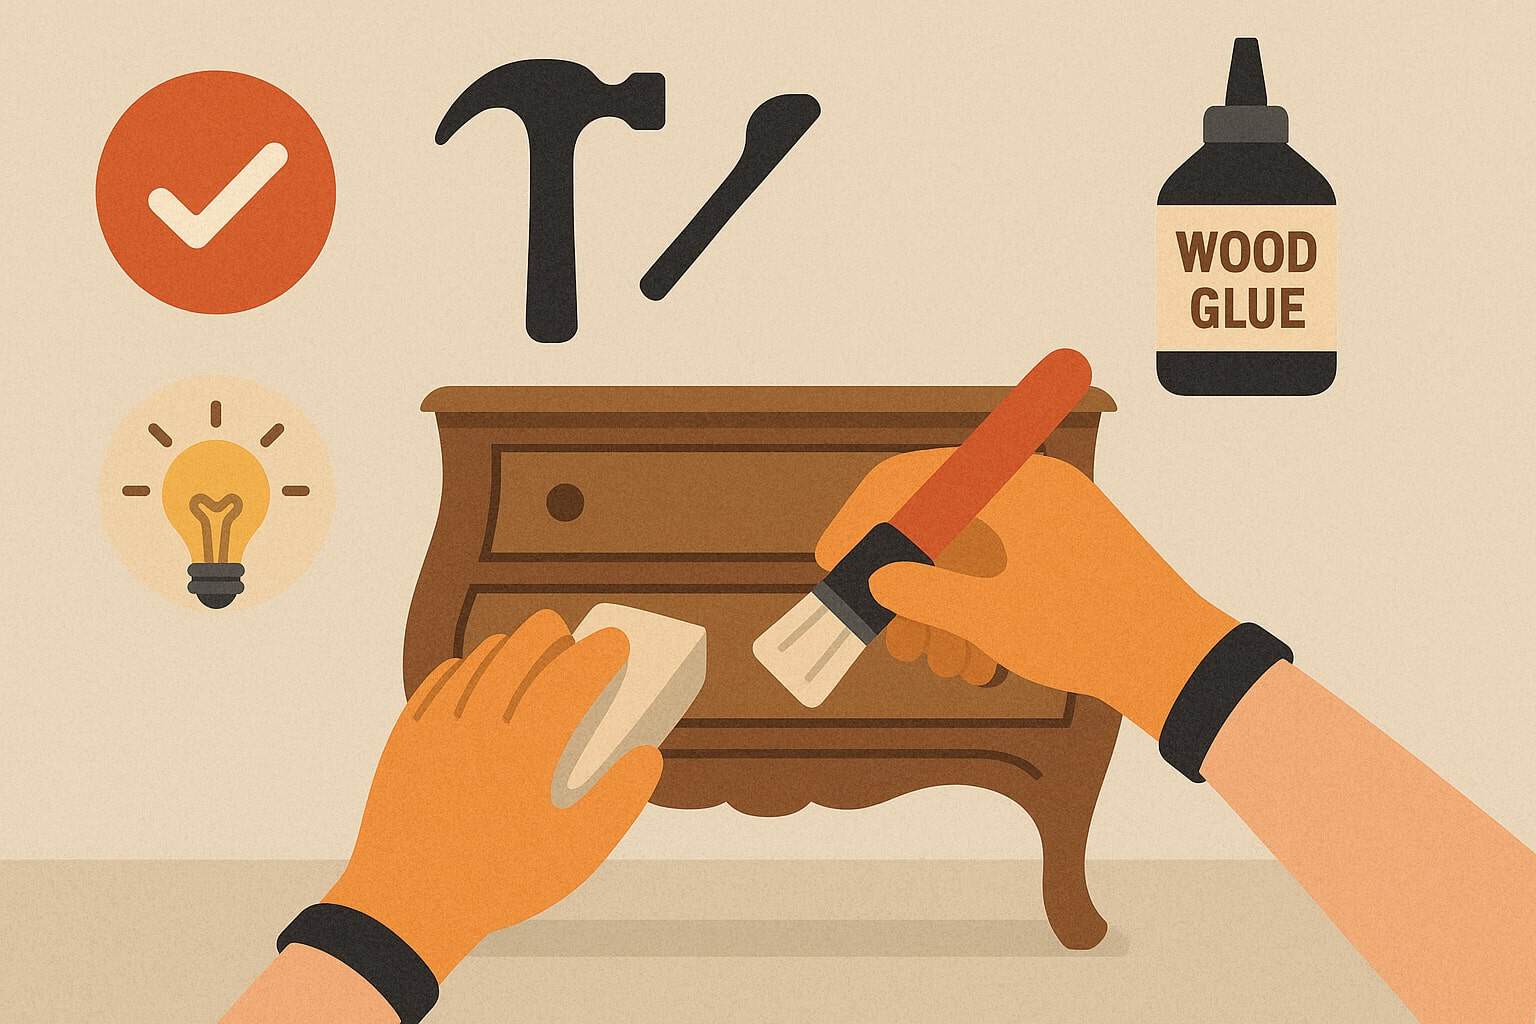
Restoring old pieces is equal parts detective work, craftsmanship, and patience. With the right plan, tools, and safety habits, you can bring timeworn chairs, chests, and tables back to life without erasing their history.
In this guide, you’ll find practical DIY restoration tips for antique furniture that keep original character intact while solving real problems like loose joints, failing finishes, and musty odors.
Each section walks you through decisions step-by-step, explains why methods work, and highlights mistakes to avoid so you can restore confidently and responsibly at home.
Read the Piece Before You Touch It: Assessment, Value, and Ethics

Before a brush or scraper touches the surface, slow down and study the piece. Careful assessment prevents irreversible damage and guides a restoration plan that respects both historical and sentimental value.
Start with provenance, if you have it. A maker’s label, stamp, or construction detail—like hand-cut dovetails or saw marks—can signal age, region, and technique. Photograph every angle in good light.
Capture close-ups of joints, hardware, and any repairs. These photos will serve as a reference if you disassemble parts or need to show a restorer for advice.
Next, determine whether you’re conserving, restoring, or refinishing. Conservation stabilizes a piece with minimal intervention—great for rare or museum-grade items. Restoration retains patina while making the object functional and attractive again.
Refinishing removes the original finish and replaces it, which can reduce value if not done carefully. When in doubt, choose the least invasive path. A careful wax, gentle cleaning, or consolidation might be enough to save the look you love.
Finally, weigh costs and your skill level. Loose joints, lifting veneer, and cloudy shellac are well within reach for patient DIYers. Structural rot, shattered carvings, or rare marquetry may require a specialist. If you plan to sell an antique, get an appraisal before major work.
If it’s a family heirloom, talk with relatives about goals. Setting expectations at the start ensures your DIY restoration tips for antique furniture lead to results everyone appreciates.
Safety First: Hazards, PPE, and Workspace Setup

Antique furniture carries invisible risks. Old finishes can contain lead, and early paints or pigments may harbor toxic metals. Mold and rodent droppings are another concern when pieces come from damp barns or attics.
Protect yourself with a NIOSH-rated respirator suitable for particulates and organic vapors, safety glasses, and nitrile gloves. Long sleeves and a shop apron help too. Work in a ventilated area with a fan exhausting to the outdoors if possible.
Set up a stable bench and soft pads to protect surfaces. Use task lighting to spot defects, and keep a first-aid kit within reach. Store solvents and finishes in original containers with labels, and never mix chemicals unless manufacturer directions say it’s safe.
Lay down kraft paper or a silicone mat to catch drips. A tidy, well-lit workspace reduces accidents and keeps dust out of fresh finishes.
Plan for disposal. Solvent-soaked rags can spontaneously combust. Lay them flat to dry outside or store in a sealed, metal, flame-rated container. Check local rules for hazardous waste disposal of strippers and varnish waste.
When you build habits like these into your routine, your DIY restoration tips for antique furniture stay safe for you and the environment.
Identify Woods, Finishes, and Construction (So You Choose the Right Fix)
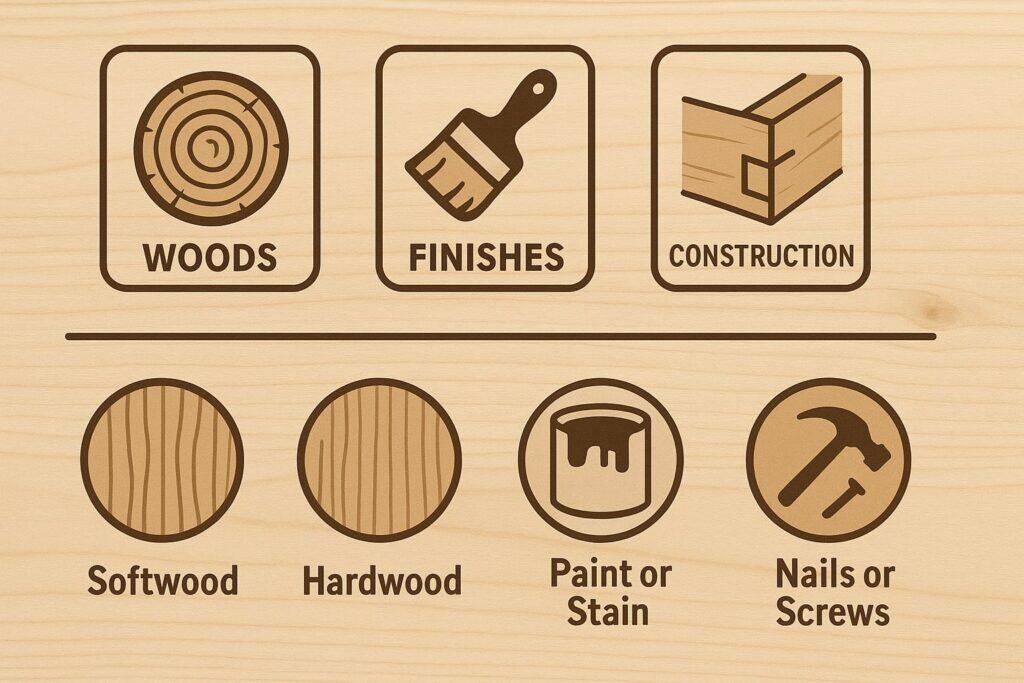
Understanding what you have determines what you should do. Many antiques are made from oak, walnut, mahogany, maple, cherry, or pine. Look at grain: oak shows bold, open pores; mahogany has ribbon figures; maple and cherry offer tight, subtle patterns.
Color alone can mislead because sunlight darkens or yellows many species. Peek at an unfinished edge or inside a drawer for truer clues.
Construction techniques signal age. Hand-cut dovetails typically predate machine-cut versions. Square nails, rose-head nails, or hand-wrought hardware suggest early manufacture. Saw marks tell stories—straight up-and-down marks often predate circular saw patterns.
Recognizing these details helps you preserve authenticity while applying DIY restoration tips for antique furniture that match the period.
Identify finishes with simple tests. On an inconspicuous spot, touch a cotton swab dipped in denatured alcohol. If the finish dissolves, it’s likely shellac. If lacquer thinner softens it, think lacquer. Varnish typically resists both and softens only with strong strippers.
Knowing whether you’re working with oil, shellac, lacquer, or varnish lets you choose compatible cleaners, polishes, or topcoats that won’t cause cloudy blush, wrinkling, or adhesion failures.
Gentle Cleaning and Grime Removal Without Stripping
Most pieces don’t need stripping. Decades of smoke, wax, and hand oils create grime that dulls shine but protects original finishes. Begin with dry cleaning: a soft brush, microfiber cloth, or a vacuum with a brush attachment to lift dust from carvings and pores.
For stuck dirt, make a mild solution of warm water with a drop of pH-neutral soap. Dampen—never soak—a lint-free cloth and wipe small sections, drying immediately. Wood and water are frenemies; limit exposure.
For sticky buildup, try a 50/50 mix of mineral spirits and gentle soap, testing first. Mineral spirits cut wax and grime without attacking cured oil varnishes. Avoid ammonia or strong household cleaners; they can cloud shellac and strip patina.
Use cotton swabs to detail moldings, then buff with a clean cloth. If you encounter white rings or hazy patches, it may be moisture trapped in shellac. Often, a light pass with alcohol-based shellac polish or a steam-free heat gun used cautiously can coax moisture out.
Finish the cleaning step with a high-quality paste wax and #0000 steel wool used very lightly along the grain. Buff to an even sheen. This sequence often reveals a rich glow without removing the history.
When you emphasize careful cleaning first, your DIY restoration tips for antique furniture preserve more value and require fewer invasive fixes.
Tightening Wobbly Chairs and Tables: Joinery Repairs That Last
Loose chairs are the #1 complaint in furniture restoration. Most antique chairs use mortise-and-tenon joints held with hide glue. Over time, glue crystallizes and joints loosen. Avoid smearing modern PVA around a wobbly joint; it won’t bond properly to old hide glue and complicates future repairs.
Instead, mark each part, then disassemble joints with patience and gentle persuasion. Alcohol or warm water can soften old hide glue. Use clamps, wedges, and jigs to support frames while you work.
Once apart, scrape out old glue until you reach clean wood. If a tenon is undersized from wear, shim it with matching hardwood veneer and hot hide glue. For split mortises, clamp repairs with hide glue and a caul.
Dry-fit everything before gluing. Then reassemble with hot hide glue for period correctness and reversibility. Hide glue sets quickly but can be gently reheated for minor adjustments, making it ideal for antique joinery.
Clamp evenly to keep geometry square. Check diagonals to ensure frames aren’t racked—a common reason chairs creak after “repairs.” Replace missing pegs or drawbore pins with matching species.
When your DIY restoration tips for antique furniture prioritize traditional materials and reversible methods, your repairs last longer and respect the piece’s future serviceability.
Choosing the Right Adhesive for Antiques
Not every adhesive belongs in every joint. Hot hide glue is traditional, reversible, and bonds to old hide glue. It excels in chairs, casework, and veneer. Liquid hide glue offers convenience but cures slower; check date codes because it degrades with age.
PVA (yellow) glue is strong but not reversible; use it on non-historic, non-structural elements where reversibility isn’t a priority. Epoxy fills gaps and bonds poorly fitting joints, but it’s permanent and should be a last resort in antiques.
Plan for the future. The hallmark of expert DIY restoration tips for antique furniture is a repair that can be undone. If a museum conservator would frown at it, think twice. Choose the weakest successful intervention so the wood—not the adhesive—remains the star of the show.
Clamping Strategies and Preventing Squeeze-Out Stains
Clamping pressure should be firm but not crushing. Use padded cauls to spread pressure and protect edges. For chairs with compound angles, strap clamps or web clamps are lifesavers. Check for squeeze-out at edges; hide glue cleans with warm water while still gelled, but water can stain oak and mahogany if overused.
Place a damp cloth over squeeze-out, lift gently, and dry the area. Finish with a light scrape after curing. Smart clamping habits elevate your DIY restoration tips for antique furniture from good to great.
Veneer and Inlay: Stabilizing, Re-Adhering, and Replacing Discreetly
Veneer and inlay deliver stunning patterns but scare DIYers. They don’t have to. First, map all loose or bubbled areas with painter’s tape. Slip a thin palette knife under lifted veneer to gauge how far the delamination runs.
If the wood is intact, wick in hot hide glue with a syringe, press gently, and clamp with a flat caul wrapped in waxed paper. Warmth helps hide glue penetrate and re-activate.
For missing chips, cut patches from matching veneer with the grain aligned to fool the eye. Use the “tape flip” method: tape the patch in position, flip it up, brush glue beneath, then flip it down and clamp.
After curing, level with a sharp scraper, not sandpaper, to avoid thinning surrounding veneer. For delicate marquetry, practice on scraps before touching the piece. When color matching, remember that finish will deepen tone, so stain patches a hair light.
If an area has repeated failure, moisture or substrate movement is likely. Seal the underside or stabilize the substrate before re-veneer. These cautious, reversible steps embody DIY restoration tips for antique furniture that preserve complexity without drama.
Leveling and Blending Repairs So They Disappear
Once veneer patches are flush, color and sheen must match. Start with dyes or shellac tints applied in thin, controlled passes. Use a fine brush to mimic grain. Seal with shellac and adjust warmth with toner coats if needed.
Finish with wax to unify the final look. Taking your time here pays dividends; the best repair is the one you can’t find later.
Fixing Lifting Banding and Marquetry with Minimal Intrusion
Banding often lifts at corners. Inject warmed hide glue, press with a shaped caul, and wrap with blue tape to clamp where traditional clamps can’t reach. For micro-gaps, shellac sticks or wax fill sticks can disguise seams.
Keep it minimal so future conservators can reverse your work easily. That restraint is core to thoughtful DIY restoration tips for antique furniture.
Surface Revival: When to Clean, Revive, French Polish, or Refinish
Deciding how far to go is the crux of restoration. If the finish is intact but dull, start with a clean-and-wax regimen. If it’s crazed, alligatored, or water-damaged, consider reviving rather than stripping.
A classic revive mix—equal parts boiled linseed oil, mineral spirits, and white vinegar—gently softens grime and re-amalgamates some old finishes. Work fast, wipe dry, and test first.
For shellac finishes with scratches and a faded patina, French polishing can perform magic. Build thin layers of shellac using a pad lubricated with a few drops of alcohol and oil, moving in figure-eight motions. This technique refreshes gloss and levels minor defects while honoring the original coating.
If a finish has failed beyond recovery—peeling lacquer, deep burn marks, or heavy stain blotching—refinishing may be fair. Strip with a methylene-chloride-free product, neutralize per directions, then sand lightly just to smooth fibers. Avoid over-sanding edges and veneers.
Choose a topcoat consistent with the era and use: shellac for period correctness, wiping varnish for durability with warmth, or lacquer for a factory-like sheen on mid-century modern. The best DIY restoration tips for antique furniture seek compatibility, reversibility, and a look that matches age—not a plastic shine that screams “brand new.”
French Polishing Basics for a Period-Correct Glow
French polishing layers shellac to create depth and clarity. Dissolve fresh dewaxed shellac flakes in denatured alcohol for predictable results. Make a rubber (pad) from cotton wrapped in soft cotton or linen.
Charge the pad with shellac, add a whisper of mineral oil, and apply in overlapping circles, keeping the pad moving to avoid witness marks. Let each session rest before the next. Spirit off lightly with alcohol to remove oil residue. This time-tested approach delivers elegance that suits many antiques.
Stain and Color Matching Without “Over-Restoring”
Color matching should aim for harmony, not perfection. Age darkens cherry and mahogany and yellows old varnish. Instead of heavy stains, use dye to set base tone, then glaze with pigment to add warmth and depth.
Tone the clear coats if needed. Keep edges slightly softer and avoid erasing wear patterns where hands naturally touch the wood. These subtle cues convey authenticity and make your DIY restoration tips for antique furniture look experienced, not overdone.
Hardware: Cleaning, Plating, and Replacements That Don’t Look New
Original hardware is a big part of value. Before cleaning, confirm if pulls are brass, bronze, iron, or plated. Non-ferrous metals won’t attract a magnet. If a magnet sticks, you may have iron with plating; aggressive polishing can remove plating and reveal base metal.
Clean gently with mild soap and water first. For brass, a paste of lemon juice and baking soda can lift tarnish. Rinse, dry, and wax to slow future oxidation. Avoid clear lacquers unless historically appropriate.
If hardware is missing, search for period-correct replacements or salvage from donor pieces. When that fails, modern reproductions can be aged with a liver of sulfur (for brass) or cold browning solutions (for iron).
Subtle patina blends better than mirror shine on most antiques. Keep original screws—they often have different threads and heads. If you must replace, age them to match. Hardware handled this way supports DIY restoration tips for antique furniture that retain soul.
Straightening, Aligning, and Protecting Keyholes and Escutcheons
Bent escutcheons and keyhole liners are common. Remove gently, flatten on a soft surface with a nylon mallet, and reinstall with proper fasteners. If a lock is frozen, apply penetrant and patience—don’t force the key.
Always store original keys in a labeled envelope inside a drawer. The small rituals of care are part of restoring with respect.
Odor, Mold, and Pest Mitigation Without Harming Finishes
Musty interiors and moldy drawers are typical in attic finds. Start with dry sunlight and moving air—not direct, hot sun that can warp wood. Wipe interiors with a dilute white vinegar solution, then dry thoroughly.
Activated charcoal or baking soda placed in bowls inside drawers can absorb odors over days. For mold, use a HEPA vacuum and isopropyl alcohol (70–90%) on a cloth, testing first. Avoid bleach; it can damage finishes and fibers.
Pests like powderpost beetles leave pinholes and frass. Confirm activity by vacuuming and watching for fresh frass over a couple of weeks. If active, consider a borate treatment per label directions, or consult a professional for anoxic or heat treatments safe for wood.
Seal raw interiors with shellac to reduce future odor absorption. Tackling these issues thoughtfully keeps your DIY restoration tips for antique furniture healthy and home-ready.
Deodorizing Drawers and Casework That “Keep Smelling”
Sometimes odor persists. Line drawers with acid-free paper after sealing interiors with thin shellac. Replace felt or fabric in silver chests. Cedar blocks can help but may conflict with the original aroma; test first. Patience is key—slow off-gassing is normal as old finishes cure after cleaning.
Upholstery on Antique Seats: What to Save, What to Replace
Drop-in seats and slip seats are DIY-friendly. Before removing staples or tacks, photograph the sequence of layers: top fabric, batting, burlap, webbing, and dust cover. Many antique seats use jute webbing and horsehair or moss stuffing.
If materials are sound, conserve them; they carry history and shape. Replace rotted webbing with new jute, re-use horsehair after airing and combing, and top with needle-punched wool felt. Avoid foam on very old pieces if you’re aiming for authenticity.
For show-wood frames, protect the finish with tape while you work. Use period-appropriate tacks where visible; staples are fine on hidden surfaces. When fabric choice matters to value, select designs and fibers in harmony with the era. Ethical DIY restoration tips for antique furniture treat upholstery as part of the object, not decoration slapped on at the end.
Webbing, Springs, and Edge-Rolls That Support Proper Posture
If the seat sags, start from the bottom. Re-web with jute in a basket weave pattern. For coil springs, hand-tie in eight directions with upholstery twine for even support. Stitch an edge-roll to define the seat front. These foundational steps transform comfort and longevity far more than fabric alone.
Finishing Touches: Waxing, Sheen Control, and Long-Term Care
After repairs and finish work, protect surfaces with a high-quality paste wax. Apply a thin coat with #0000 steel wool along the grain, then buff with a soft cloth. Wax softens glare, adds a hand-rubbed feel, and offers sacrificial protection against fingerprints.
Choose sheen intentionally: satin for most antiques, gloss only where historically accurate. Avoid silicone polishes; they contaminate surfaces and cause fisheyes in future finishes.
Place felt pads under feet, use coasters, and maintain stable humidity (ideally 40–55%). Dust with a soft, dry cloth; damp cleaning is rare and careful. Re-wax once or twice a year depending on use. Good housekeeping is part of DIY restoration tips for antique furniture that extend your hard work for decades.
Environmental Control: Humidity, Light, and Movement
Wood moves with seasons. Keep pieces away from radiators, direct sunlight, and vents. UV filters on windows help prevent fading. If you must move a piece, lift—don’t drag—especially with fragile legs or casters. For heavy casework, remove drawers and doors first. Preventative care beats emergency repair every time.
Tools, Materials, and Consumables: A Practical Starter Kit
You don’t need a cabinetmaker’s shop to start. A thoughtful kit supports most DIY restoration tips for antique furniture:
- PPE: respirator with organic vapor/particulate cartridges, safety glasses, nitrile gloves.
- Hand tools: cabinet scraper, block plane, sharp chisels, small saw, brad-awl, palette knives.
- Abrasives: #0000 steel wool, 320–600 grit papers, sanding blocks.
- Adhesives: hot hide glue and pot (or liquid hide glue), syringes, PVA (for non-historic fixes).
- Clamping: F-clamps, bar clamps, web clamps, padded cauls, spring clamps, blue tape.
- Finishing: dewaxed shellac flakes, denatured alcohol, mineral spirits, paste wax, quality brushes, French polishing pad materials.
- Upholstery: jute webbing, twine, tacks, magnetic hammer, regulator, needles.
- Misc: dye concentrates, pigments for glazing, small scale, mixing cups, label maker.
Invest first in sharpening. Sharp tools are safer and produce better results. A reliable bench light and magnifier reveal defects early. As your projects grow, add specialty items like veneer saws, veneer hammer, or a steamer for stubborn joints.
Budget vs. Premium: Where to Spend and Where to Save
Spend on adhesives, abrasives, and finishes—cheap versions frustrate and fail. Buy mid-grade clamps and add as needed; you can never have too many. For scrapers and chisels, quality steel saves time.
A modest outlay focused on essentials supports DIY restoration tips for antique furniture without overwhelming your shop.
Common Mistakes to Avoid (and What to Do Instead)
Over-stripping is the top mistake. Once the original finish is gone, so is the irreplaceable patina. Always try to clean, revive, or re-amalgamate before stripping.
Another error is mixing incompatible products: for example, applying polyurethane over waxed shellac, which leads to adhesion failure. Learn to finish compatibility and test on hidden spots. Using modern glue in historic joints is another pitfall; choose hide glue for reversibility.
Rushing, clamping and finishing also causes heartbreak. Let glues cure fully before stress. Allow finishes to harden per product guidance before polishing or use.
Finally, don’t sand through veneer or edges—use scrapers and a light touch. Respecting these guardrails keeps your DIY restoration tips for antique furniture on track and protects the piece’s story.
When to Call a Professional Conservator
If you see active rot, major structural failure, complex marquetry losses, or significant historical value, consult a pro. Professionals can perform controlled consolidations, color retouching with reversible materials, and museum-grade documentation. Bringing in help for the hardest 10% is often the smartest move a DIY restorer can make.
Quick Reference: Step-by-Step Restoration Flow
- Document and assess
- Clean gently; stop if results are good
- Stabilize structure with appropriate adhesives
- Address veneer, inlay, and hardware
- Decide on revive, French polish, or refinish
- Reassemble, wax, and protect
- Maintain and monitor
This flow keeps your DIY restoration tips for antique furniture logical, conservative, and effective.
FAQs
Q.1: How do I know if I should conserve, restore, or refinish my antique?
Answer: Start with significance and condition. If the piece is rare or has important provenance, prioritize conservation—stabilize and retain original finishes. If it’s sturdy but tired, restoration—cleaning, minor repairs, and sympathetic finish work—often strikes the best balance.
Refinish only when the finish is irreparably failed or mismatched to the period. When in doubt, test a gentle clean and wax on an inconspicuous area. If the transformation satisfies you, stop there. Your DIY restoration tips for antique furniture should always favor the least invasive solution first.
Q.2: Is hot hide glue really necessary, or can I use yellow wood glue?
Answer: For antiques, hot hide glue is preferred because it’s reversible and bonds to residual hide glue in old joints. Yellow PVA may be stronger initially but complicates future repairs and often fails to adhere well to old hide glue contamination.
Liquid hide glue offers convenience, though it cures slower. Reserve PVA for non-historic or secondary parts. Choosing the right adhesive is central to successful DIY restoration tips for antique furniture.
Q.3: What’s the safest way to clean a dirty antique finish?
Answer: Begin dry: soft brush and vacuum, then a barely damp cloth with a drop of pH-neutral soap. For heavier grime, use mineral spirits sparingly, testing first. Avoid ammonia and harsh household cleaners; they can cloud shellac and strip patina.
Finish with paste wax buffed to a soft sheen. This conservative routine honors the original finish and reflects the best DIY restoration tips for antique furniture.
Q.4: How do I fix white water rings on a tabletop?
Answer: White rings typically indicate moisture trapped in shellac or lacquer. Try gentle heat from a hair dryer or a low-warm iron over a cotton cloth, moving constantly. If that fails, a light pass with alcohol (for shellac) or a lacquer retarder can re-amalgamate the surface.
Always test on a hidden area, work quickly, and stop once the haze clears. Then wax to even the sheen. Simple, controlled steps like these are hallmark DIY restoration tips for antique furniture.
Q.5: Can I French-polish over an existing finish?
Answer: Yes—if the existing finish is shellac or compatible and clean. Scuff lightly with 600-grit, remove dust, and test a small section. Use fresh, dewaxed shellac for better adhesion and clarity. French polishing can revive depth without stripping, a key strategy in gentle DIY restoration tips for antique furniture.
Q.6: How can I get rid of a musty smell inside drawers?
Answer: Air the piece in indirect sunlight with good airflow. Wipe interiors with diluted white vinegar, dry thoroughly, and place bowls of baking soda or activated charcoal inside for days.
Seal raw interiors with shellac to block future odor absorption and line with acid-free paper. Patience matters; odors diminish as materials off-gas. Odor control is an often-overlooked part of DIY restoration tips for antique furniture.
Q.7: Should I polish brass hardware to a mirror shine?
Answer: Usually not. Over-polished hardware looks out of place on aged wood. Clean gently, remove heavy tarnish if needed, then wax to protect. If you must replace missing pieces, choose period-appropriate forms and age them slightly for a believable match. Subtlety keeps your DIY restoration tips for antique furniture authentic.
Q.8: How do I tell veneer from solid wood?
Answer: Look at edges and undersides. Veneer shows a thin layer with a different substrate below. Grain that continues through edges without wrapping is another clue. On tops, bookmatched patterns often indicate veneer.
Knowing what you’re dealing with prevents sanding through and informs the right adhesive and clamping approach—core knowledge in DIY restoration tips for antique furniture.
Conclusion
Antique furniture restoration thrives on restraint, curiosity, and respect. By assessing carefully, cleaning gently, choosing reversible adhesives, and matching finishes to the period, you can solve structural problems and revive beauty without erasing age.
The best DIY restoration tips for antique furniture are conservative: stabilize first, preserve patina, and intervene only as much as necessary. As your skills grow—from tightening a loose chair to finessing a French-polished sheen—each project becomes a conversation with the maker across time.
Keep notes, photograph your steps, and practice patience. Done well, your work will serve the next generation as faithfully as the piece has served yours.