By bric-a-brac-montroyal February 18, 2026
If you want to spot quality items at Mont-Royal thrift shops without spending your whole Saturday digging through flimsy fast-fashion and wobbly furniture, you’re in the right place. The trick isn’t luck—it’s having a repeatable process.
Once you know what “quality” looks and feels like, you’ll start finding quality pieces at Mont-Royal thrift stores faster, with fewer regrets, and you’ll build a home and wardrobe that actually lasts.
This guide is written like I’d teach a friend who’s new to thrifting: what to check, how to scan quickly, what to skip, and what to buy even if it needs a small fix.
You’ll get practical Mont-Royal thrift shopping tips, printable-style checklists, safety steps, and a big list of high-upside items so you can find vintage treasures in Mont-Royal without wasting money on “almost” good finds.
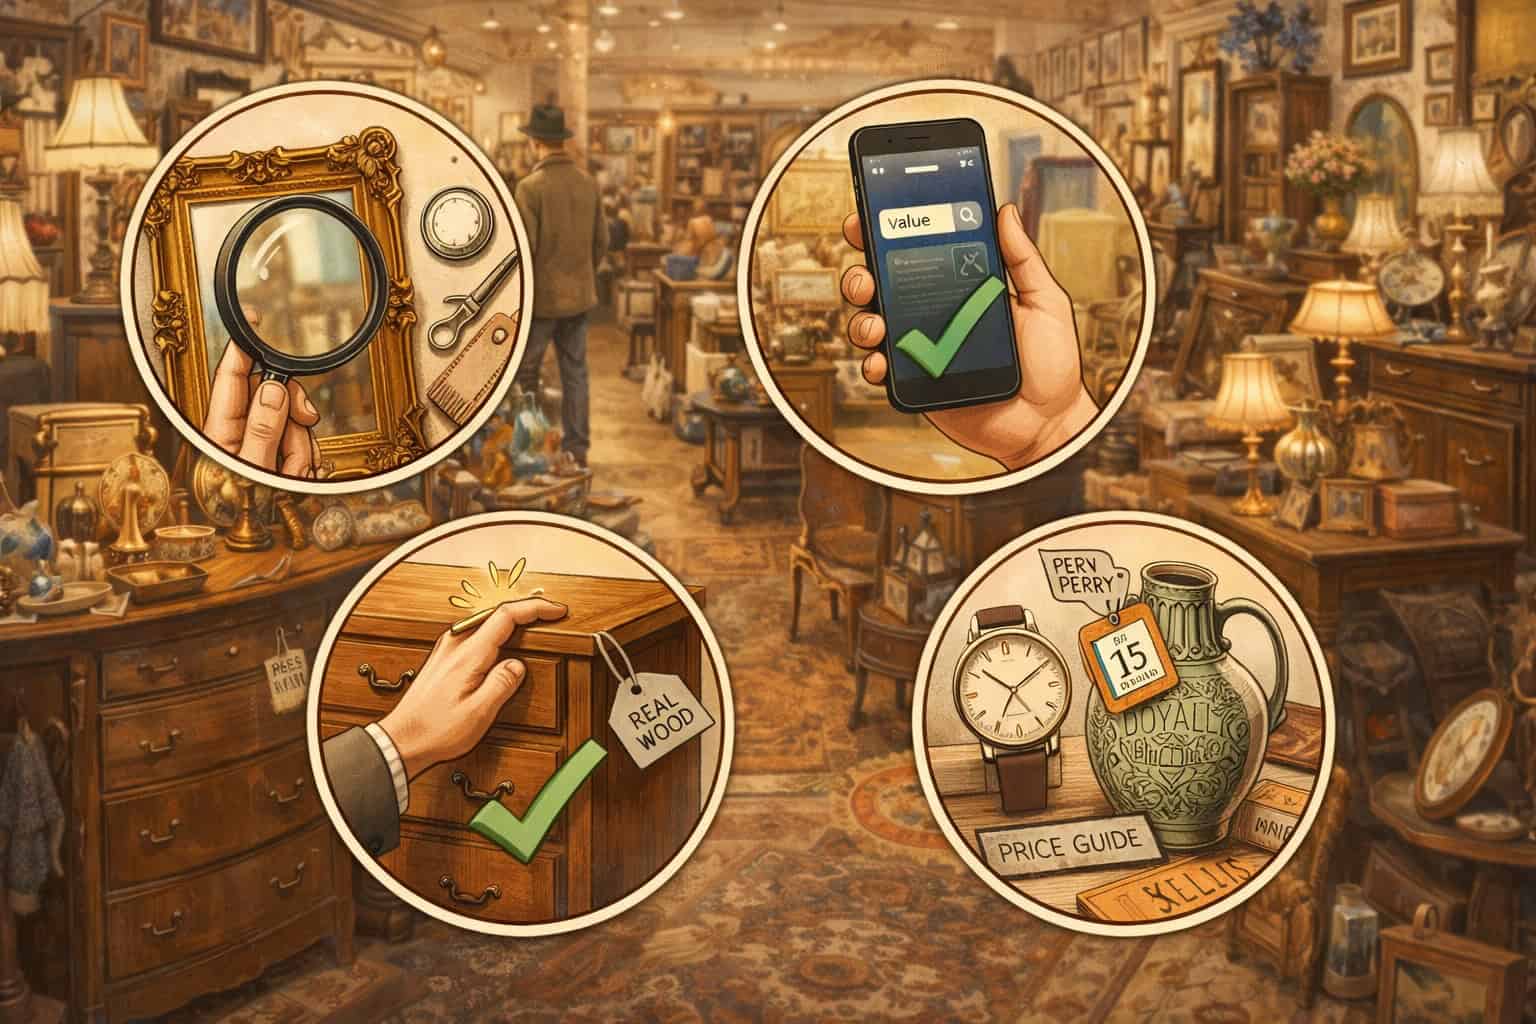
What “quality” means when you thrift (and why it matters)
Quality in thrifting isn’t just “expensive brand” or “looks cute on the hanger.” Real quality is a mix of materials, construction, repairability, and how the item has aged.
When you understand that, you can choose pieces that look better, wear better, and survive apartment living—small closets, tight hallways, radiator heat, and constant moving.
Start with materials. In clothing, natural fibers often age more gracefully: wool can be de-pilled, cotton can be refreshed, and linen softens over time. That doesn’t mean synthetics are always bad; it means you want to be intentional. Learning natural fibers vs synthetics helps you predict how something will feel, breathe, and hold shape.
Construction matters just as much. In garments, look for clean seams, sturdy hems, quality zippers, and lining where it counts.
In furniture, learn the difference between solid wood furniture vs veneer and how to recognize good joinery like dovetail joints and quality construction. A dresser with strong joints and a few scratches is usually a better buy than a shiny piece with swollen particle board.
Repairability is your secret weapon. A missing button is easy. A blown-out knit, dry rot, or severe odor trapped in foam? Not so easy. A quality thrifter thinks like a practical fixer: “Can I clean it? Can I tighten it? Can I tailor it?” If yes, it’s often worth grabbing.
Thrift smarter in Mont-Royal: timing, scanning fast, and shopping with a plan

Thrifting is part treasure hunt, part strategy. The goal is to spend less time wandering and more time making confident yes/no decisions. The most helpful Mont-Royal thrift shopping tips are simple: go at the right times, build a wish list, and follow a scan routine.
Best times to go (and how to time your visits)
If you can, shop when the store is calmer and shelves are freshly touched up. Early in the day tends to be easier for scanning racks and testing electronics without a crowd hovering. Midweek often feels less chaotic than weekend afternoons, which makes it easier to check seams, run a zipper, or do a quick wood inspection without being bumped.
If you’re serious about finding quality pieces at Mont-Royal thrift stores, treat it like a rotation. Go regularly for shorter visits rather than one marathon day. You’ll see more fresh stock over time, and you won’t get “decision fatigue” that leads to impulse buys.
How to scan quickly without missing good stuff
Use a simple three-pass system:
- Pass 1: Materials + silhouette. Run your fingers over fabrics. Heavier knits, crisp cottons, and smooth wool blends often stand out immediately. In furniture, look for weight, solid edges, and sturdy legs.
- Pass 2: Condition. Check stress points first: underarms, collars, crotch seams, seat cushions, chair joints, drawer bottoms.
- Pass 3: Fit + function. Confirm measurements, test pockets, open drawers, check hardware, plug in electronics (if allowed).
This approach helps you spot quality items at Mont-Royal thrift shops quickly because you’re filtering by what matters first: what it’s made of and whether it’s intact.
Build a wish list and avoid impulse buys
A wish list keeps you from buying random “maybe” items that don’t fit your life. Write down:
- Your sizes (including inseam, shoulder width, and preferred rise)
- Home measurements (doorway width, hallway turns, wall space)
- Colors/materials you actually use
- 3–5 “priority finds” (example: wool coat, solid-wood nightstand, quality lamp, leather bag)
Then set rules: no purchases outside your list unless it’s a clear upgrade or a rare find you can name a purpose for.
Clothing quality checks: fabric, construction, and hidden damage
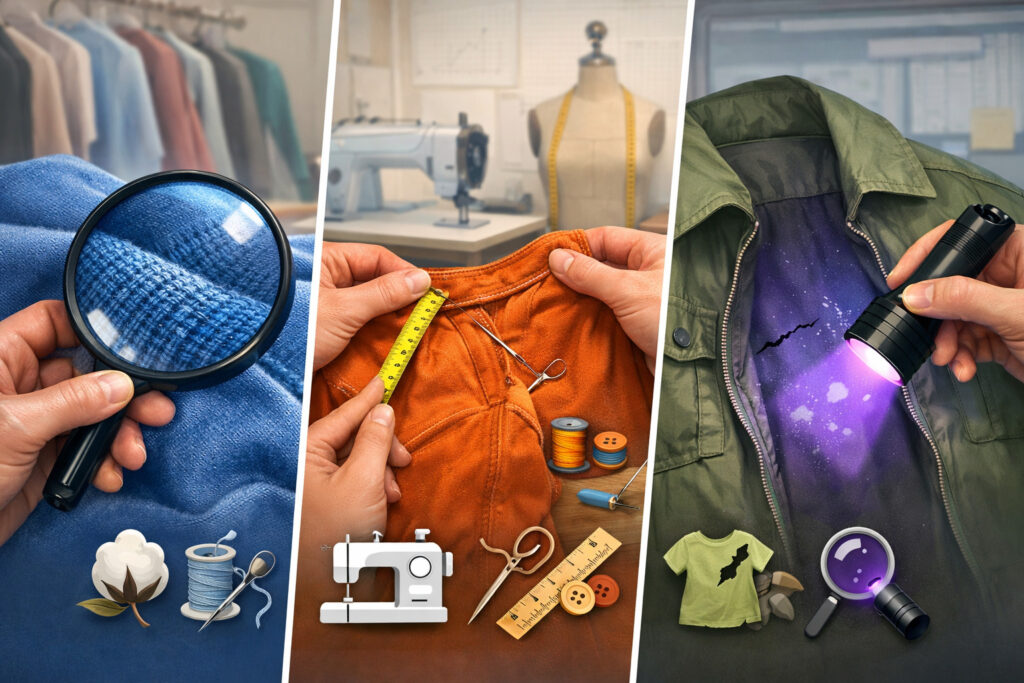
Clothing is where you can gain the biggest quality upgrade for the least money—if you know what to inspect. This is the heart of how to thrift like a pro: you’re not just choosing style; you’re judging longevity.
Fabric feel, fiber content, and “hang” on the body
Start with touch and drape. Quality fabrics tend to feel denser, smoother, or more structured depending on the type. Then check the fiber tag when possible. Understanding natural fibers vs synthetics helps you pick pieces that breathe, resist odors, and recover shape.
Look for:
- Wool (including merino), cashmere blends (verify feel, not just label)
- Cotton that feels substantial (not thin and twisty)
- Linen with a tight weave
- Silk that feels fluid and strong (not brittle)
- Denim with weight and good recovery
Be cautious with:
- Very thin polyester that feels “plasticky”
- Acrylic knits that pill heavily
- Stretch fabrics that feel tired or wavy
Also consider how a fabric has aged. If it already looks fuzzy, shiny at stress points, or warped, it may not have much life left.
Seams, hems, lining, closures: your thrift store quality checklist
Construction is the difference between a $10 gem and a $10 regret. Use a fast thrift store quality checklist:
- Seams: Look inside. Are they straight and even? Any loose threads or skipped stitches?
- Seam allowance: Extra fabric inside can mean it was made to be altered.
- Hems: Clean, even hems suggest care and better making.
- Lining: A lined skirt, blazer, or coat often drapes better and lasts longer.
- Zippers: Test them fully. Quality zippers glide smoothly and don’t catch.
- Buttons: Tug gently—are they secure? Are there spares?
- Elastic: Stretch waistbands lightly. If it doesn’t rebound, it’s worn out.
Pay special attention to stress zones: underarms, seat, inner thighs, cuffs, and collar edges.
Label cues, tailoring signs, and identifying vintage clothing labels
Labels are clues, not guarantees. Still, learning identifying vintage clothing labels helps you spot older construction details and better fabrics. Look for:
- Higher stitch density and neat finishing
- Structured shoulders in blazers/coats
- Real lining and facings
- Metal zippers on some older garments
- Union-style tags or older care labeling styles (varies by era)
Tailoring signs to love:
- Darts that shape the bust/waist
- Extra seam allowance for alterations
- Pattern matching (stripes/plaids aligning at seams)
- Finished interior edges (binding, clean overlocking)
Tailoring signs to avoid:
- Pulling at buttons (strain lines)
- Twisted seams (often poor cutting or shrinkage)
- “Bubbling” on jackets (fused interfacing failure)
Damage detection: pilling, stretched knits, dry rot, moth holes, and more
This is where many people lose money. Do a quick damage scan every time:
- Pilling: Some can be removed, but heavy pilling can mean weak fibers.
- Stretched knits: Look at cuffs, elbows, waistbands—if wavy, it may never recover.
- Dry rot: Often in older rubbery waistbands or brittle fabrics. If it cracks when gently tugged, skip it.
- Checking for moth damage: Look for tiny holes in wool and cashmere, especially near hems, armpits, and folded areas.
- Stains: Check under bright light—especially armpits, collars, and hemlines.
- Odor: Smoke or mildew can be hard to remove from certain fibers.
Shoes, bags, and leather goods: what to inspect before you buy
Accessories can be the fastest way to upgrade your look—if you avoid worn-out soles, peeling faux leather, and broken hardware. This section covers inspecting shoes and leather goods with a practical, hands-on approach.
Shoes: soles, structure, stitching, and comfort tests
Start with the outsole. Flip the shoe over and look for uneven wear, cracking, or a heel that’s worn down on one side. Then press the sole gently—does it feel firm and supportive, or spongy and collapsing?
Check:
- Sole wear: Is there enough tread? Any separation at edges?
- Heel stability: Wiggle the heel. If it rocks, repairs may cost more than the shoe.
- Insole condition: Lift if possible. Look for mold, deep odor, or crumbling foam.
- Stitching: Look at the upper-to-sole connection. Strong stitching beats glue-only construction.
- Toe box: Press lightly. If it collapses or creases oddly, it may be degraded.
Do a quick fit test standing up. If you can’t walk a few steps comfortably in-store, it probably won’t get better at home.
Bags and leather goods: leather vs faux, hardware quality, and lining checks
To judge leather, use multiple cues—no single test is perfect. Real leather usually has variation in grain, a warmer feel, and edges that don’t look like plastic film. Faux leather often peels or cracks at folds, especially around handles.
Look for:
- Hardware: Zippers and clasps should feel substantial and work smoothly.
- Stitching: Even stitching, especially on straps and corners.
- Corners: Heavy wear here can mean the bag is near end-of-life.
- Lining: Turn it inside as much as possible. Check for stains, pen marks, and tears.
- Straps: Tug gently at attachment points. If stitches look stressed, repairs may be needed.
For “vintage designer authentication basics,” keep it humble and cautious. You can look for consistent branding, quality materials, and clean finishing, but avoid making definitive claims unless you have strong evidence.
Furniture and home décor: solid wood, joinery, and the “apartment test”
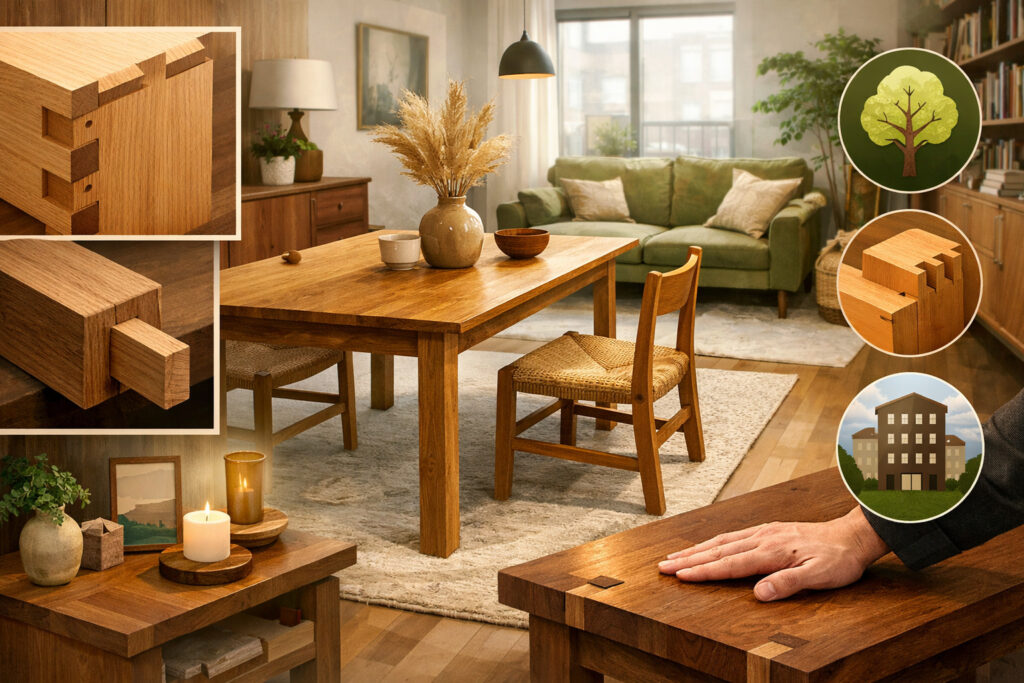
Furniture thrifting is where you can save big—but it’s also where you can accidentally buy a headache. The key is learning construction basics: solid wood furniture vs veneer, joinery, and structural stability.
Solid wood vs veneer vs particle board (how to tell fast)
Start with weight and edges. Solid wood often feels heavier and more “dead” when tapped, while particle boards can feel hollow or overly light and may have swollen edges. Veneer is a thin layer of real wood over a cheaper core—sometimes totally fine, sometimes not.
Quick checks:
- Look at edges and corners: Veneer may show a thin layer at chipped corners.
- Check the back panel: Many pieces reveal their true material on the back.
- Inspect underneath: Flip or peek under for unfinished areas.
- Tap test: Solid wood sounds denser; hollow materials sound papery.
Particle board red flags:
- Swelling, bubbling, or crumbling near screws
- Warped panels
- A “spongey” feel when pressed
Joinery and construction: dovetails, slides, and stability
This is where you’ll spot real value. Look for dovetail joints and quality construction in drawers—interlocking “teeth” at the corners often signal sturdier builds. Mortise-and-tenon joints (common in chairs/tables) are another sign of strength.
Check:
- Drawer movement: Does it slide smoothly? Does it sag when pulled out?
- Drawer bottoms: Thin bottoms that bow or separate are common failure points.
- Weight test: Lift one side slightly—does it rack or twist?
- Wobble test: Gently rock the piece. Tight furniture stays quiet and stable.
- Fasteners: Real joinery beats lots of staples.
If it’s wobbly, ask: is it a simple tightening fix, or is the structure compromised?
Upholstery inspection, odor checks, and quick-clean potential
Upholstery can be a bargain or a trap. Inspect seams, cushion shape, and the frame underneath. Then do an honest odor test—some smells never fully leave foam.
Look for:
- Frame: Solid wood frames are better than flimsy stapled composites.
- Cushions: Remove them if possible. Check for stains and odor on both sides.
- Fabric: Excessive pilling, thinning, or sun fading can mean it’s worn out.
- Underneath: Flip it if you can and look for dust, debris, or signs of pests.
If you’re an apartment dweller, consider whether you can clean it realistically. A slipcovered chair you can wash? Great. A huge sofa with deep odors? Risky.
Safety first: bedbug checks, cleaning protocols, and smart quarantine habits
Thrifting should feel fun—not stressful. A few simple safety habits protect your home, especially when you’re buying textiles or furniture. This section covers bedbug safety tips for thrifted furniture and practical routines that don’t require fancy equipment.
Bedbug-safe inspection for furniture and soft goods
When you inspect furniture, focus on seams, cracks, and hidden crevices. Use a flashlight and take your time—this is not the moment to rush.
Check:
- Along seams and piping on upholstered items
- Under cushions and inside cushion zippers
- In screw holes, joints, and stapled fabric underframes
- Along the underside edges where fabric meets wood
For clothing and linens, check:
- Seams, hems, and folds
- Inside pockets
- Around labels and waistband folds
If you see tiny black spots (like ink), shed skins, or anything that looks suspicious, skip it. If you’re not sure, don’t take the risk.
Cleaning and sanitizing thrifted items (textiles + hard surfaces)
Have a clear “arrival routine” so you’re not tossing thrift finds onto your bed “just for a minute.”
Textiles:
- Wash items you can launder as soon as possible
- Use the hottest water safe for the fabric
- Dry thoroughly (heat helps)
- For delicate items: consider steam, gentle wash, or sealed bag quarantine before cleaning
Hard surfaces:
- Wipe down with an appropriate cleaner
- Pay attention to handles, knobs, and edges
- Let items fully dry before bringing them into closets
This also supports sustainable shopping habits because you’ll extend the life of your finds with proper care.
Vintage and treasure spotting: eras, design cues, and authenticity basics (without overclaiming)

Part of the fun is learning to recognize “this is special” even when the label is missing. If your goal is to find vintage treasures in Mont-Royal, train your eye for design cues and construction details—then verify thoughtfully.
How to recognize quality design cues by era
Instead of chasing a specific decade, look for details that often show up in well-made older items:
- Natural materials: wool, cotton, linen, real leather, solid wood
- Heavier hardware: metal zippers, sturdy buckles, substantial drawer pulls
- Better finishing: lined garments, clean seam work, finished edges
- Timeless shapes: classic coats, structured blazers, simple wood furniture silhouettes
You can also look for wear patterns. Quality vintage often shows “honest wear” (softened edges, gentle fading) rather than breakdown (peeling, crumbling, warped structure).
Vintage designer authentication basics: do’s and don’ts
A practical thrifter uses vintage designer authentication basics as a guide, not a guarantee. In-store, focus on consistency and craftsmanship:
Do:
- Compare logos, fonts, and placement across tags and hardware
- Look for clean stitching and high-quality lining
- Check that branding matches the item’s quality level
- Photograph tags and details to research later
Don’t:
- Make definitive authenticity claims based on one detail
- Assume “made well” means “designer”
- Pay a premium price if you’re uncertain and can’t return it
If you’re flipping (briefly): treat potential “designer” finds as a bonus, not the plan. Quality basics with strong materials are a safer bet.
Budgeting and pricing: decide what’s worth it with simple math
Smart thrifting is budgeting with a quality lens. The goal isn’t “cheap”—it’s “value.” This is where a little math protects you from overpaying for something that will sit unused.
Cost-per-wear and repair-cost reality checks
Use a quick formula:
- Total cost = price + cleaning + repairs/tailoring
- Cost-per-wear = total cost ÷ realistic number of wears/uses
Examples:
- A coat priced modestly that needs a $10 button fix can still be a win if you’ll wear it weekly.
- Shoes that need resolving can be worth it if the upper is excellent and you love them—but only if you’ll actually do the repair.
Always estimate repairs honestly. If you’ve never taken something to a tailor or cobbler before, assume it costs more than you think.
Negotiating and timing store visits (without awkwardness)
Some shops have fixed prices; others have tag sales, clearance days, or negotiation flexibility. When negotiation is appropriate, keep it simple and respectful:
- Point out a specific issue (missing hardware, stain, wobble)
- Ask politely if there’s flexibility due to condition
- Be ready to walk away
Timing matters too. If you notice items cycle to clearance after a certain time, you can plan your visits and avoid paying full price for something you’re not sure about.
After you buy: cleaning, odor removal, minor repairs, and tailoring
The “after” phase is where good thrifters become great thrifters. A little care turns a decent find into a favorite. This section includes cleaning and sanitizing thrifted items, plus practical stain and odor removal thrift finds steps.
Clothing refresh: washing, steaming, and deodorizing
Start with the fabric’s needs. Washables get washed promptly. Delicates get gentler treatment.
Odor strategies:
- Air out outside (weather permitting) before washing
- Use fabric-safe methods like gentle wash boosters
- For stubborn smells: repeated airing + steaming can help
- Spot-clean linings and underarms carefully
Stains:
- Treat before washing when possible
- Test any remover on an inside seam first
- Avoid over-scrubbing knits or delicate fibers
Furniture and décor: sanitize, tighten, protect
For wood furniture:
- Wipe thoroughly, including underside edges and inside drawers
- Tighten screws and hardware
- Use simple polish or conditioning methods appropriate to the finish
- Add felt pads to protect floors and reduce wobble
For décor:
- Wash or wipe, then dry completely
- Check stability of glued pieces
- Replace cheap hangers or mounting hardware
If you bought veneer pieces, learn a basic approach to veneer repair: small lifted edges can sometimes be re-glued carefully, but swollen particle board underneath is harder to fix long-term.
Red flags: what to skip even if it’s “cute” or “cheap”
This is the part that saves you the most money. When you’re learning how to thrift like a pro, your superpower is walking away.
Clothing red flags:
- Strong mildew smell that doesn’t fade after airing
- Dry rot or brittle fabric that cracks when lightly tugged
- Heavy pilling + thin fabric (often near end-of-life)
- Stretched-out knits that don’t rebound
- Unfixable stains in visible areas (set-in oil, deep discoloration)
- Severe checking for moth damage on wool/cashmere (multiple holes, thin spots)
Shoes and bags red flags:
- Crumbling soles or deep cracking
- Peeling faux leather at folds/handles
- Broken zippers or hardware embedded in seams
- Strong odors inside that linger
Furniture red flags:
- Swollen particle board near legs or screws
- Deep wobble that suggests structural failure
- Persistent smoke or pet odor in upholstery foam
- Signs that trigger bedbug safety tips for thrifted furniture concerns (spotting, shed skins, suspicious crevices)
Electronics red flags:
- Missing power cords with no easy replacement
- Burn smell, corrosion, or exposed wiring
- No way to test (unless the price is “parts only” level)
Best finds: the items that tend to have the highest payoff
Not everything is worth the hunt. These are the categories that often deliver the biggest quality upgrade for your money and time—especially if you’re apartment-living, budget-conscious, or building a vintage-leaning style.
Clothing best finds:
- Wool coats, structured blazers, quality denim
- Natural-fiber sweaters (with careful moth checks)
- Linen shirts, cotton button-downs, classic skirts
- Tailorable trousers and dresses with good seams
Accessories best finds:
- Real leather belts, sturdy handbags, scarves with good fibers
- Classic watches (if you can verify condition later)
- Quality jewelry with solid clasps and clean finishing
Home best finds:
- Solid wood side tables, nightstands, shelving
- Lamps with sturdy bases and good proportions
- Frames, mirrors, ceramics, and kitchen tools that last forever
If your goal is to spot quality items at Mont-Royal thrift shops, focus on these categories first. You’ll build confidence faster, and you’ll start recognizing quality patterns.
Printable-style thrift store quality checklists
Print these (or save them as notes) and use them in-store. They’re designed for quick decisions.
Clothing checklist (quick pass)
- Fabric feels substantial; drape looks clean
- Fiber tag checked (or fabric seems high-quality by feel)
- Seams straight; no loose threads or popped stitches
- Hems even; no twisting or warping
- Zippers smooth; buttons secure; snaps work
- Lining intact (if applicable)
- No major stains at collar/underarms/seat
- No strong mildew/smoke odor
- Checking for moth damage done on knits/wool
- Fit seems workable (or tailorable)
Shoes + leather goods checklist
- Outsole has life left; no crumbling or deep cracking
- Heel stable; no severe uneven wear
- Stitching intact at stress points
- Upper material not peeling or splitting
- Hardware works (zippers, buckles, clasps)
- Lining clean; no heavy odor
- Straps secure; attachment points sturdy
Furniture checklist (wood + structure)
- Feels stable; minimal wobble
- Material checked (solid wood vs veneer vs particle board)
- No swelling, bubbling, or crumbling edges
- Drawers open/close smoothly; don’t sag
- Joints checked (look for dovetail joints and quality construction)
- Hardware present and tight
- Back/underside inspected for damage
- Odor check done (especially inside drawers)
Home décor + kitchen checklist
- No cracks that compromise function (hairline vs structural)
- Glazes and finishes look intact
- Metal items not heavily rusted in functional areas
- Frames/mirrors have solid backing
- Lamps/fixtures stable and not bent
- Items are easy to clean/sanitize
Electronics checklist (safe + simple)
- Exterior intact; no cracks exposing internals
- No burn smell; no corrosion at battery area
- Buttons/switches move normally
- Cord and plug in good condition (no fraying)
- Tested in-store if possible (electronics testing at thrift stores)
- Missing parts are replaceable at low cost
25–40 high-upside items to look for (categorized)
Use these lists to guide your “wish list.” These are often worth grabbing when quality checks pass.
Clothing (12)
- Wool overcoats
- Trench coats with intact lining
- Structured blazers (lined)
- High-quality denim jackets
- 100% cotton button-downs
- Linen shirts and trousers
- Wool trousers (tailorable)
- Cashmere/wool sweaters (only if moth-safe)
- Silk blouses (check for pulls)
- Leather jackets (check lining and seams)
- Classic knitwear with strong cuffs
- Skirts with lining and clean hems
Shoes + accessories (10)
- Leather loafers (resole-worthy)
- Well-constructed boots (sturdy upper)
- Leather belts with solid buckles
- Real leather handbags with clean stitching
- Minimalist wallets in good condition
- Scarves in wool/silk blends
- Quality sunglasses (scratch-free lenses)
- Jewelry with strong clasps
- Gloves in leather or wool
- Travel bags with sturdy handles
Furniture (10)
- Solid wood nightstands
- Side tables with stable legs
- Dressers with good drawer glide
- Bookshelves that don’t bow
- Dining chairs with tight joints
- Coffee tables with durable tops
- Wall-mounted shelving (sturdy brackets)
- Storage trunks (solid hinges)
- Small desks with strong frames
- Mirrors with solid backing and frame
Home décor + kitchen (8)
- Ceramic bowls and mugs (no cracks)
- Heavy cookware that sits flat
- Metal utensil sets with good weight
- Glassware sets (chip-free)
- Frames with real glass
- Lamps with sturdy bases
- Woven baskets for storage
- Wool rugs (only if pest-safe and cleanable)
Common mistakes to avoid (so you don’t waste money)
Even experienced thrifters make mistakes when they’re tired, rushed, or shopping emotionally. Here are the big ones to avoid if you want consistent wins.
- Ignoring hidden damage because the item is cheap
- Buying trendy low-quality pieces that won’t last a season
- Skipping measurements (then realizing it doesn’t fit your space)
- Forgetting to check zippers, buttons, and closures
- Underestimating repair and cleaning costs
- Bringing upholstered items home without safety inspection
- Overbuying “project pieces” you never actually fix
- Assuming vintage always means better quality
- Not having a wish list, so everything feels tempting
- Buying duplicates instead of upgrading what you already own
FAQs
Q1) What are the best materials to look for when thrifting?
Answer: Prioritize materials that age well and can be refreshed: wool, cotton, linen, silk, and real leather. These often respond better to cleaning, steaming, and minor repairs.
That said, some synthetics perform well for specific uses—just avoid thin, overly shiny fabrics that pill easily or trap odors. When in doubt, choose the material that feels substantial and comfortable in your hand.
Q2) How can I tell if furniture is solid wood?
Answer: Check the underside, back, and drawer interiors for clues. Solid wood often shows grain consistently and feels heavier. Veneer may show a thin layer at chipped edges, and particle board often swells when exposed to moisture. The fastest test is combining weight + edge inspection + looking at unfinished areas where the true core material is visible.
Q3) How do I avoid bringing pests home from thrifted furniture?
Answer: Use bedbug safety tips for thrifted furniture: inspect seams, crevices, underframes, and inside cushions with a flashlight. Avoid plush upholstery if you can’t inspect it thoroughly. Keep a quarantine routine at home—don’t place items directly in bedrooms or closets until you’ve cleaned and inspected them again.
Q4) Are vintage items always better quality?
Answer: Not always. Some vintage pieces are incredibly well-made; others were cheaply made in their era or have degraded over time. The smarter approach is to judge quality by materials and construction first, then treat “vintage” as a style bonus rather than a guarantee.
Q5) What clothing brands usually hold up well?
Answer: Brands can help, but construction matters more than the name. Look for lined pieces, strong seams, quality zippers, and good fabrics. If you notice a brand consistently uses substantial materials and neat finishing, it’s worth remembering—but don’t buy purely for a label if the garment is worn out.
Q6) How do I remove thrift store odors?
Answer: Start with airing out (fresh air can do a lot). Wash what you can, and dry thoroughly. For delicate items, steaming can help reduce odors. For persistent smells trapped in foam or certain linings, results vary—if the odor is strong in-store, consider skipping the item.
Q7) What should I always check before buying shoes?
Answer: Look at outsole wear, heel stability, stitching, and the inside for odor or mold. Bend the sole gently to check for cracking or separation. If the shoe needs repairs, decide whether you’ll realistically follow through—otherwise, it becomes closet clutter.
Q8) How do I know if a bag is real leather?
Answer: Use several cues: texture variation, how the edge looks, the feel (often warmer and less “plasticky”), and whether it shows peeling. Faux leather commonly cracks or peels at folds. Also check hardware, stitching, and lining—real leather with flimsy construction can still be a bad buy.
Q9) What’s the best day/time to go thrifting?
Answer: Quieter times make quality checks easier—early in the day and calmer midweek hours often help you scan and inspect without pressure. The bigger advantage is consistency: shorter, regular visits help you catch fresh stock without burnout.
Q10) How do I thrift for a vintage apartment style on a budget?
Answer: Pick a simple style direction (warm wood + neutral textiles, or mid-century lines + minimal décor), then focus on a few anchor pieces: a solid wood side table, quality lamp, and a couple of framed prints. Add textiles carefully with safety checks. Keep your wish list tight so you’re buying pieces that actually fit your space and vibe.
Q11) Is tailoring worth it for thrifted clothing?
Answer: Often, yes—if the fabric and construction are strong. A slightly oversized blazer or wool trousers can become a favorite with small adjustments. Avoid tailoring pieces with weak fabric, warped seams, or damage that will keep spreading.
Q12) What’s the fastest way to spot quality on a crowded rack?
Answer: Use touch first. Run your hand along sleeves and collars and stop when something feels substantial. Then check seams and closures quickly. This “materials → condition → function” system is one of the most reliable ways to spot quality items at Mont-Royal thrift shops without getting overwhelmed.
Q13) How can I tell if a sweater has moth damage?
Answer: Use a flashlight and check along hems, underarms, and folded areas. Look for tiny holes, thin spots, or clusters of damage. If you find multiple holes or the fabric looks weakened, skip it—even if it’s a great brand.
Q14) Are electronics worth buying secondhand?
Answer: They can be—if you can test them and the price makes sense. Focus on items with simple functions and clear condition. Always check cords, battery compartments, and signs of corrosion. If you can’t test and it’s not priced like a gamble, pass.
Q15) Can I do thrift flipping basics without getting stuck with unsold stuff?
Answer: Yes—keep it brief and practical: flip only what you understand (materials, sizing, repair needs), and start with low-risk categories like quality denim, wool coats, and solid wood décor. Avoid “project flips” unless you truly enjoy repairing and have space to store items.
Conclusion
The secret to finding quality pieces at Mont-Royal thrift stores is not having perfect taste or unlimited time—it’s having a repeatable system. Touch for materials, inspect stress points, test function, and stick to a wish list.
When you do that, you’ll spot quality items at Mont-Royal thrift shops faster, skip expensive mistakes, and build a wardrobe and home that feel personal and durable. Over time, you’ll also train your eye to find vintage treasures in Mont-Royal—not by chasing hype, but by recognizing good bones and smart construction.